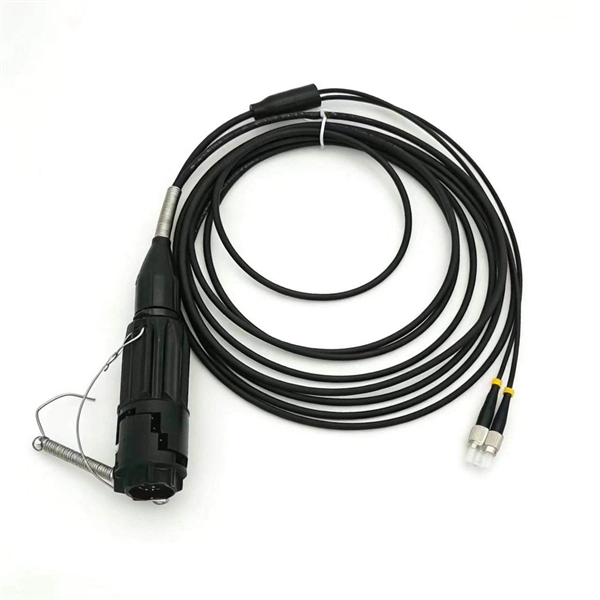
Article Overview
Diagnose pigtail faults efficiently using visual inspection, multimeter testing, and connector repair techniques to restore reliable electrical connections.
Step 1: Visual Inspection
Begin by examining the pigtail and connector for obvious signs of damage, corrosion, or loose connections. Look for frayed wires, bent terminals, or discoloration that may indicate overheating or moisture intrusion. In automotive applications, ensure the connector housing is intact and the strain relief is not compromised .
Step 2: Continuity and Resistance Testing
Use a digital multimeter (DMM) to check for continuity and measure resistance along the pigtail. Set the multimeter to continuity mode and touch the probes to each end of the wire. Inconsistent readings often indicate a loose connection, intermittent break, or internal wire damage. For resistance testing, compare the measured value to the expected resistance based on wire gauge and length . Gently flex the wire near the terminals to detect intermittent faults.
Step 3: Connector Repair Techniques
If a fault is detected, repair the pigtail using one of the following methods:
- De-pin/Re-pin Method: Remove the damaged terminal from the connector housing and insert a new terminal or pigtail wire. Ensure proper seating and locking of the terminal to prevent intermittent faults .
- Crimping: For automotive pigtails, use a ratcheting crimp tool to attach a new terminal. Crimp both the conductor and insulation separately for strain relief. Perform a pull test to confirm a secure connection .
- Soldering: Use rosin-core solder for low-resistance joints, especially in signal circuits. Avoid soldering in high-vibration areas where crimping is more reliable .
- Butt Splice: For straight wire-to-wire repairs, insert the pigtail and existing wire into a properly sized butt splice and crimp securely. Ensure no conductor nicks and full seating of wires .
Step 4: Final Testing
After repair, re-test continuity and resistance to confirm the fault is resolved. Check for proper operation in the system and ensure the connector is fully seated and strain-relieved. In automotive systems, verify that the repaired pigtail restores OEM fit and electrical reliability .
Safety Tips
- Always disconnect power before testing or repairing pigtails.
- Use insulated tools and wear protective equipment.
- Replace pigtails rather than attempting temporary fixes if the wire or connector is severely damaged. By following these steps—inspection, multimeter testing, proper repair, and final verification—you can quickly troubleshoot and resolve pigtail faults while maintaining safe and reliable electrical connections.
Pigtail Catheter Insertion Error: Root Cause Analysis and
We highlight a preventable error in insertion of a percuta-neous catheter and describe radiographic features to enhance error
Discharge Information on Patient with Pigtail Catheter
Introduction: Pigtail Catheter is commonly used for the drainage of abnormal fluid collection in the lung or abdominal cavity due to
Pigtail Catheter Insertion Error: Root Cause Analysis and
Major contributing factors included human error, communication breakdowns, and design flaws. Findings stress the importance of
Removal of Pigtail Catheter
Checks string is release that created pigtail coil Using counter pressure on either side of exit site, steadily withdraws catheter If there
An Easy-to-Follow Wiring Diagram for Trailer Pigtails
Find the wiring diagram for the trailer pigtail and learn how to properly connect the electrical components
Pigtail Catheter Insertion Error: Root Cause Analysis and
Improved design, systematic processes for device insertion and troubleshooting, and enhanced provider education could reduce the
wiring pigtails
We provide a detailed guide on wiring pigtails, covering application, advantages, and installation tips. Enhance electronics
Automotive Connector Repair | FindPigtails.com
A simple pigtail does not have to be cycle time''s kryptonite. Fortunately, there''s a better way. This is where quality automotive
Pigtail Catheter Insertion Error: Root Cause Analysis and
Figure 7 illustrates a systematic approach to troubleshooting a chest tube, which could be applied uniformly at the end of the
A Guide to Semi Truck Pigtail Wiring Schematics
Find a helpful semi truck pigtail wiring diagram to guide you in properly connecting and troubleshooting your truck''s electrical
How to Splice Fiber Optic Pigtails: A Step-by-Step Guide
Master the art of fiber termination. Learn how to splice fiber optic pigtails using fusion splicing, follow the color code,
Pigtail Wire Installation Made Easy: A Step-by-Step Guide for
Whether adding an outlet, replacing a switch, or troubleshooting your electricity, pigtails can cut down the struggle.
Pigtail Drain Care Instructions | PDF | Clinical Medicine
The document provides detailed instructions on how to care for a pigtail drain, including flushing the drain, changing the dressing,
Replacing and Repairing Automotive Connectors, Pigtails and
Repairing damaged, corroded & broken pigtails and connectors - NACE with Jim Bates -
EMCrit Blog
Hier sollte eine Beschreibung angezeigt werden, diese Seite lässt dies jedoch nicht zu.
What Is a Pigtail on a Car and When Do They Fail?
Why Pigtails Fail Pigtails frequently fail because their location demands they absorb the brunt of environmental and
Fiber Optic Pigtails: Uses & Differences from Patch Cords
Understand fiber optic pigtails — definition, types, and how they differ from patch cords. Learn why pigtails ensure
Automotive Wiring Pigtails: Complete Guide to Connector Repairs
Discover how automotive wiring pigtails simplify electrical repairs. Learn what pigtails are, when to use them, and how
Mastering the Percutaneous Pigtail Thoracostomy Catheter
Catheter-based thoracostomy using “pigtail catheters” has become a ubiquitous procedure for the management of
Pigtail catheter for pleural drainage: Tips to minimize
A guide on using pigtail catheters for pleural drainage, including tips, techniques, and potential complications in
EKHUFT Patient Information Leaflets
Hier sollte eine Beschreibung angezeigt werden, diese Seite lässt dies jedoch nicht zu.
Pigtail Catheter Insertion Error: Root Cause Analysis and
Emergency physicians must be familiar with common and dangerous procedure complications associated with these
How to Test a Pigtail with Multimeter? A Step-by-Step Guide
A faulty pigtail can lead to anything from intermittent malfunctions to complete system failure, even posing a significant
356 Pigtail Catheter Insertion Error: Root Cause Analysis and
A structured review of complications of pigtail catheter insertion revealed opportunities for improved patient safety. We highlight a
Related Resources
- Overseas warehouse transparent optical cable G 654
- Steel Mesh Cable Tray Wholesaler
- Creation of Arc-Shaped Cable Trays
- Telecommunications Optical Splitter Ratio Standards
- Fiber optic patch cord assembly equipment
- 8050 Cable Tray Lifting
- Hard wires run through the distribution box
- 8-port all-optical optical switch
- Chile bulk purchase of 25G laser diodes
- Installation Procedures for Cable Trays
- The apartment s electrical distribution box is not soundproof
- GB Communication Equipment Room Construction Standards
- PON board optical module incompatible
- Origin of 830nm Laser Diodes in Central and African Countries
- Fiber Optic Cable Accessories ODF
- Precision rack cabinet with dual power supply switching
- Original package of optical module